Pages

Showing posts with label NCCA. Show all posts

Thursday, January 16, 2014

Breaking Ego out of his prison

Hello. So I did this shot last year in June and I wanted to do a little write up about how I went about solving the shot.

In this shot we had Ego, a dragon, breaking out of it's prison. The main problem I faced with the shot was that I got the final animation of the dragon around a week before deadline and I just didn't have the time to refine the dust and debris and render them out. So, the output here has been achieved in a little over 3 days. In the end, we were not even able to render out the dust passes. Anyway, this is how I went about solving it.

The models were done by Ross Hildick. You can go and check out his blog here: http://rosshildick3d.wordpress.com/

This is the final result I was able to produce:

The final result

When I was handed the shot, the first thing I analysed was the structure of the building. After having a discussion with the director, we came to a conclusion that this building was an old castle sort of structure and didn't have any iron reinforcements inside. So the only material used was stone. This meant that I didn't need to worry about the bending and deformation of metal rods.

I looked at the animation of the dragon and I judged the force with which he was coming out. I then divided the upper part of the tower into different parts according to the amount of impact they would be receiving from the dragon's body. This can be seen in the image below:

Geometry broken down into collision groups

Here we can clearly see the parts I broke the geometry into. The red one is the main impact group which takes the direct hit from the dragon. These rocks would be completely broken. Next would be the secondary main impact group. These bricks received impact as well, but not direct impact. So, the fractured, but into bigger chunks. Moving further out is the secondary impact group. These rocks didn't receive direct impact but were unsettled by the impact to the neighboring rocks. So, they just fall off. Beyond this I made several other groups which would stay glued together but will form tumbling geometry.

I used the RBD solver for this because I wasn't really happy with the result the Bullet engine was giving me. After breaking these areas down, I imported the geometry into Houdini as separate groups. I then started working from inwards to outside. I fractured the main impact group first. After I was happy with the result. I wrote it out through a ROP output driver. In the next file when doing the next group I imported this first geometry as collision geometry and went ahead with solving the shot, working outwards constantly.

In the picture below you can see all the major groups:

Various collision groups

After this, ideally, I would have done a dust and debris solution, but due to the lack of time, I just added a simple smoke solution on top of this. After 3 passes of smoke was added and all the layers were brought together, this is how the final output looked like.

Smoke passes and final output

Below are some screenshots of the scene graphs:

The overall scene graph

The DOP network

SOP-network for one of the groups. This shows how I handled fracturing

So that was about it. It was a really simple fracture. I wouldn't say I am proud of it, but it is something. Feel free to message me if you want any clarification on this.

Happy fracturing!

Sunday, October 6, 2013

Compositing Basics: Part 4

I have got on to basic chroma-keying. The files below are just stills, so it could have been done in photoshop. However, the workflow used here applies to video files as well. The footage here was shot in 4:2:0, so I have blurred the green and blue channels to minimise the errors. Other than that, it is just very basic chroma keying, using the Keylight node.

All the assets and plates used on this output are from PL studios Inc., who operate the Digital Tutors website. 

The output:


Getting started with chroma-keying
The node graph for this file:

Node Graph
I also tried out another file. The screen on this was not very clean and it was a bit harder to integrate her into the backplate. Also, as the plate extended from foreground to background, I had to mimic the depth of field accordingly. For this I created several different roto masks and then added different level of blurs on them.

Practising on a relatively harder plate
The node graph for this file:

The node graph
 Well that's it on that one. Things are heating up here with compositing. More posts coming up soon :)


Friday, October 4, 2013

Compositing Basics: Part 3

This one is from Digital Tutors. It is from the tutorial titled Getting Started with Nuke. This is a quiet nice tutorial which helped me consolidate the stuff I learned from the NCCA notes.

All the assets and plates used on this output are from PL studios Inc., who operate the Digital Tutors website. 

This is the final output:

The final Comp output
This is the node graph for this comp:

Robot Comp Node Graph
 So this comp had four components.
  • The BG plate
  • The Robot
  • Robot Shadow
  • Gun heat
The Robot

The Shadow

BG Plate

Gun Heat Ring
 I started off by merging all the layers together to have a working comp.

Thursday, October 3, 2013

Compositing Basics: Part 2

This was the second exercise I undertook. While still very basic in nature, it has some more elements of compositing. This is the final result:

The final result
You can watch the video HERE!!!

This project has four parts:
  1. The spaceship
  2. The smoke
  3. Spaceship shadow
  4. Backplate
I cannot show the node graph here as this belongs to the NCCA, Bournemouth University.

This was, as you can see, still very basic in nature still, but I got to work with a few more nodes such as blur, invert, time offset, shuffle, multiply and rotopaint. 

Compositing Basics: Part 1

I have started off with the "Introduction to Nuke" and I am actually finding it very interesting. There were quiet a few things I learned in this lesson. I got used to the interface, which is just like any other graphics software. It is easy to use and intuitive. I just find the "Save" dialogue box a bit annoying in Nuke and I kept overwriting my files for a bit.

This set of nodes started with an exercise where I was supposed to slap comp 3 layers on top of each other. This mainly showed me the use of the Merge(over) operation. In the end there was also a blur added onto it.

Final comp made out of 3 parts
The image above had 3 parts:
The BG wall, The Table and The Flower.

Assets courtesy NCCA, Bournemouth University.


Nuke Time!!! Or should I say compositing time!

So, after years of wanting to do it, I have got around to starting to learn compositing and I am doing it on Nuke. I have given myself around 8 months to become reasonably proficient in it. I am using several different resources for the purpose. Most important ones are:
  • NCCA Digital Effects notes
  • Digital Tutors
  • fxphd
  • cmivfx
Apart from these organised and targeted sources, I am also looking at several blogs and am following several artists who share their work-flow on-line.

I also have some books that I am planning to follow. From the top of my head I can think of the following:
  • The art and science of digital compositing: Ron Brinkman
  • The VES Handbook
  • Fix it in Post: Jack James
  • Rotoscoping: Benjamin Bratt
  • Matchmoving: Dobbert 

Thursday, May 2, 2013

EGO FX: Part 01

So getting on with Ego now. There are 36 days left and I need to do the FX and render stuff out. This is the FX shot list for the project:


Let's see how I get on with it :)

Friday, March 1, 2013

Crowd Simulation - Part 1.1

Just did another simple test with a higher number of agents. This scene has 1200 agents and Maya is already beginning to strain. I guess my method is not very scale-able then.

A platoon with 1200 agents

Thursday, February 28, 2013

Crowd Simulation: Part 1

Eventually I have got the time to get on with my crowd simulation project. I have 7 days to go on the project, so, I won't be able to add in animation. At the moment I am trying to achieve some believable behavioral animation. I am trying to simulate a medieval fight scene.

Here is the output so far. In this screenshot you can see there are two kinds of agents. The front rows are foot soldiers and the back portion consists of horses, which will hopefully have riders on them soon.

Formation with different agent types
First of all I started by defining a basic human agent.

Basic human agent with primitive geometry
 I would have gone on with just using cubes, but the app I am using requires a bone structure
Basic human agent with rig attached to it
Instantiating the agent to start building a crowd:

Creating instances of agents
Here I have gone on and added some variation to the population field. The agents are more dis-organised and have a randomised orientation

Adding variation to the population field
Now I go ahead and add variation to the model itself. This is being done at two different levels:
First, I add variation to the overall agent scale. As you can notice in the screen-shot below, the overall size of the agents populating the scene has some variation.

Agents with added variation in the overall scaling
At the next level of variation, variation has been added to the individual body parts. The head and the stomach pieces show variation in the next screen-shot

Variation added on a per-bodypart basis
Next I tried out having different types of agents populating the same population field. In the screenshot below, the scene has, a human, a car and a horse crowdEntityType

Population field populated with different types of agents
Next I started working with formations. The screenshot below illustrates a rectangular formation of horses. Some randomness and variation has been added into the orientation and columns and rows of the field to break the even-ness

A formation of horses
The example below illustrates placement along a curve.

A formation driven by curves
As the last thing tonight I made a formation of horses facing inwards. The rider may be preparing for an attack in this situation.


Wednesday, February 6, 2013

Sony Games Modelling - 5

Putting everything together now. One more pass at set dressing and then I get into texturing this. Not really looking forward to it.

Work in progress

Sunday, February 3, 2013

Sony Games Modelling - 4.1

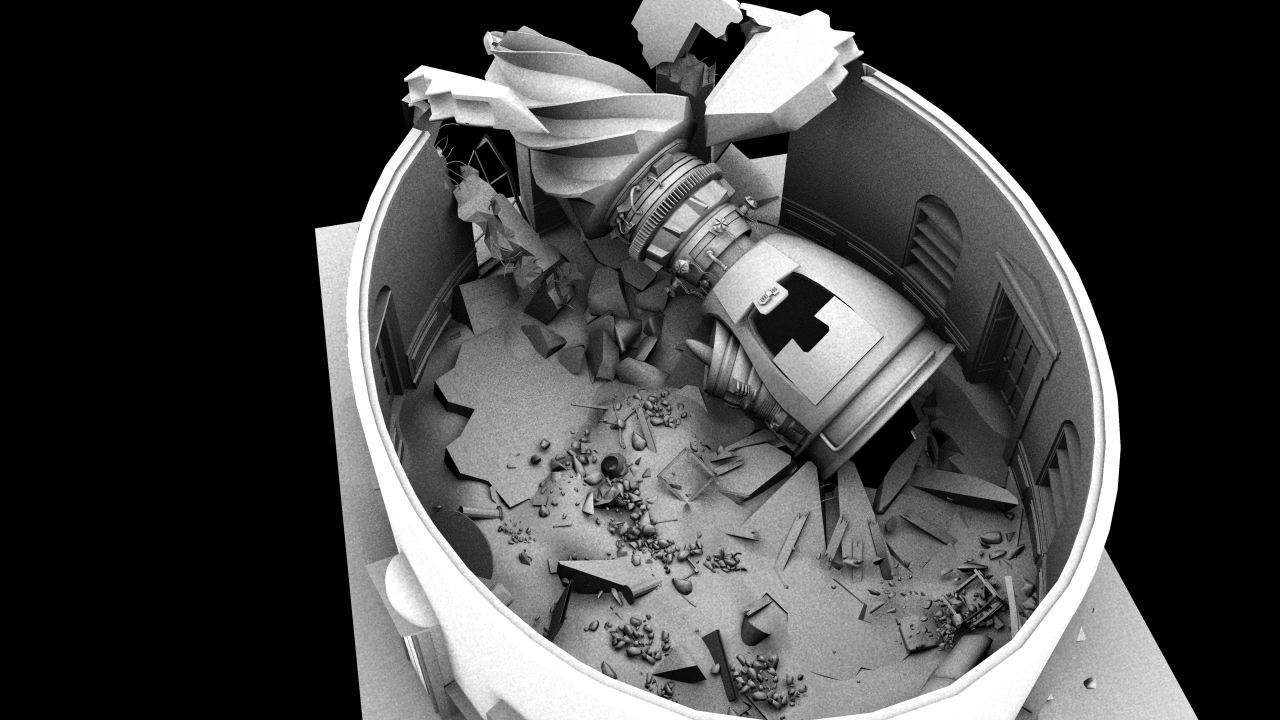
Work in progress update. Added some Houdini rubble to my scene.

WIP with rough rubble


Sony Games Modelling - 4

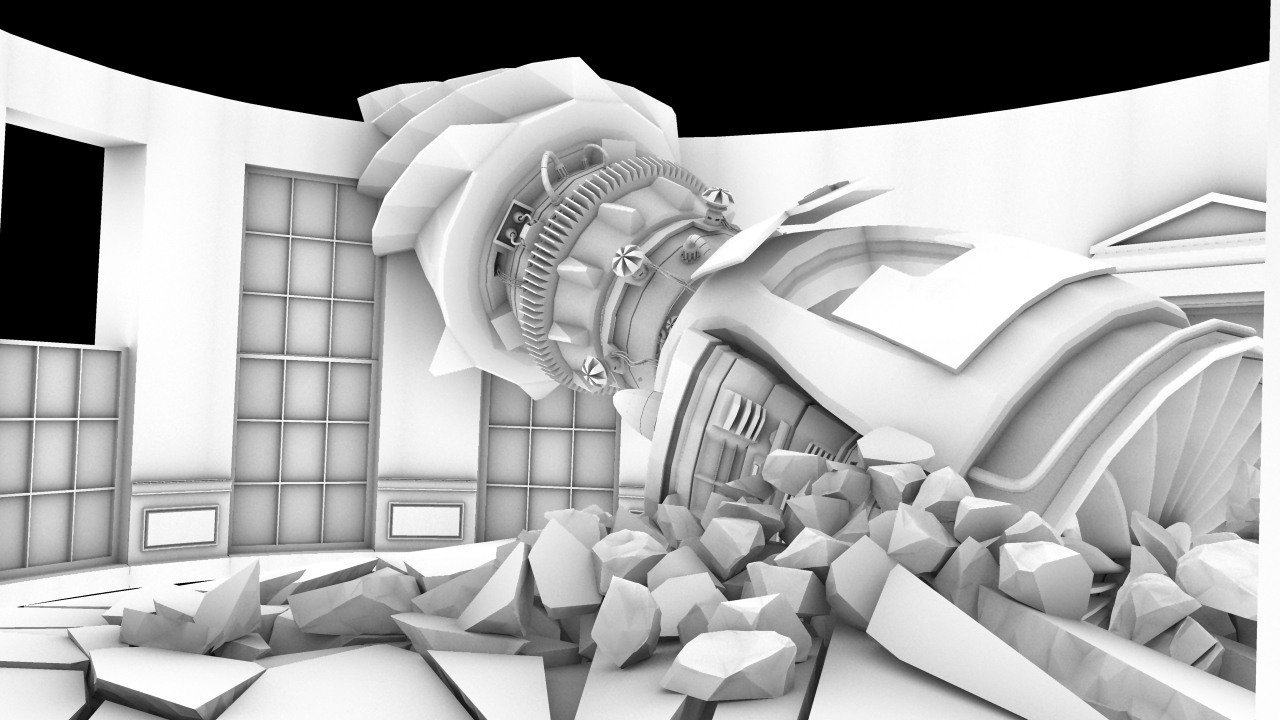
For the past couple of days, I have been concentrating on the drill design and also have been looking at the composition an bit. I also went in and did some clean-up, deleting unwanted nodes and naming everything.

Here is a work in progress image:

WIP - Drill Detail

Thursday, January 31, 2013

Sony Games Modelling - 3

Now I have been modelling for about 5-6 days and I have the basic geometry ready. This it the blocking I have with the rough geometry.

Work in progress:

Work in progress: Clean geometry
Now I am going in and cleaning up the geometry, organising my assets a bit and then I get on with destruction and texturing.

Monday, January 28, 2013

Sony Games Modelling - 2

It's day 2 working on the project. Have just slept for 4 hours in the last 40 hours, so was a slow night. This is where I got to till now. I have nearly 6000 polygons on it and this is rendered using renderMan in 32 seconds for the frame. The geometry hasn't really been optimised yet, so hopefully it will be much more economical when finished.

Day 2 progress
I am beginning to get a bit worried now as I just have 10 days left to finish this off. Will need to increase my speed.

Sunday, January 27, 2013

Sony Games Modelling - 1

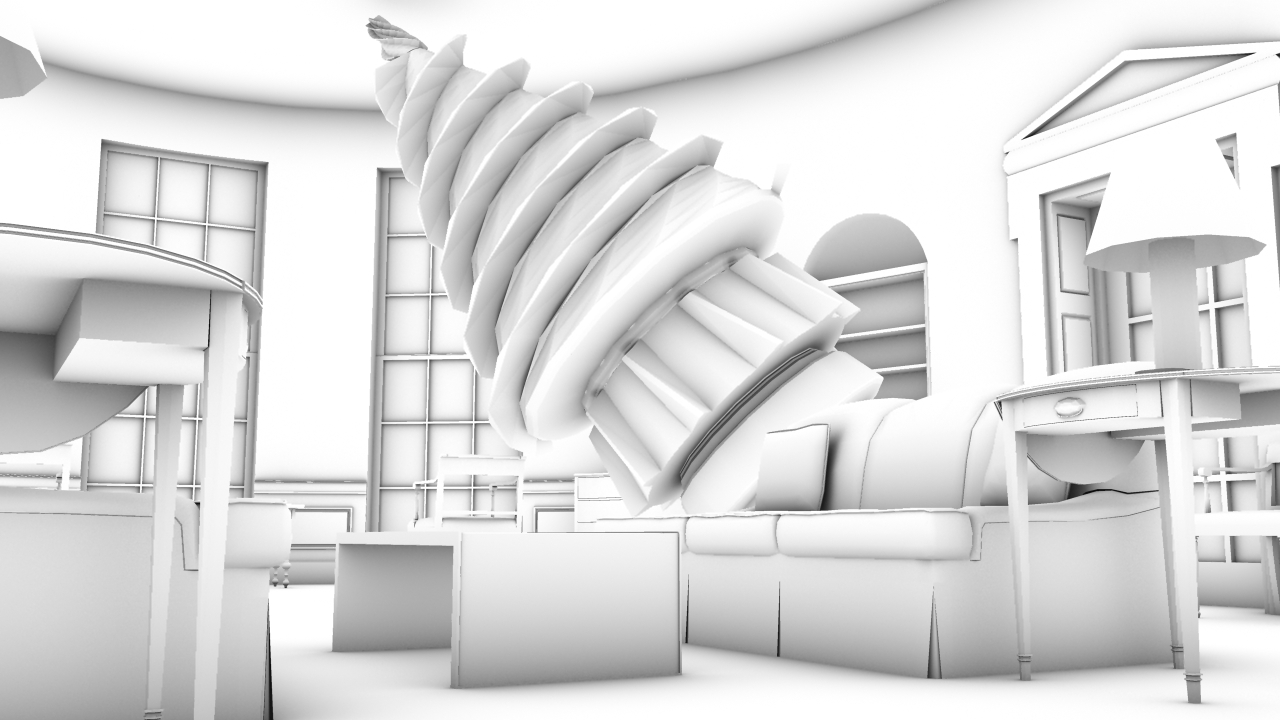
After weeks of delays I have actually got on to modelling for the Sony games project. I am starting with modelling props and I have done the couch and the centre table. I am very slow with the process but hopefully I will pick up some speed as I go along. I am really enjoying the modelling and I am surprised as I always found modelling a tedious process. Will post the couch images with more detail of the mesh later. Been working for 18 hours straight and can't be bothered to take screen-shots and crop them on gimp.

This is the render of the basic cleaned up geometry of the props. I still have to texture it and add wear and tear and character to it. This scene has some 3500 polys. This is a rough renderMan render with render time of 19 seconds.

A rough render of the couch and the table. Rendered with renderMan,

Wire-frame for the scene


Friday, January 18, 2013

Houdini Fracture Systems 4

So moving on from where I left off, I went on and used the concepts I have been learning in the past weeks and applied them to some dummy geo that Ross made for me. This is mainly a visual post, so no descriptions here and frankly this is very basic, I don't think I can add anything interesting to it :)

This is the final result I got from this:

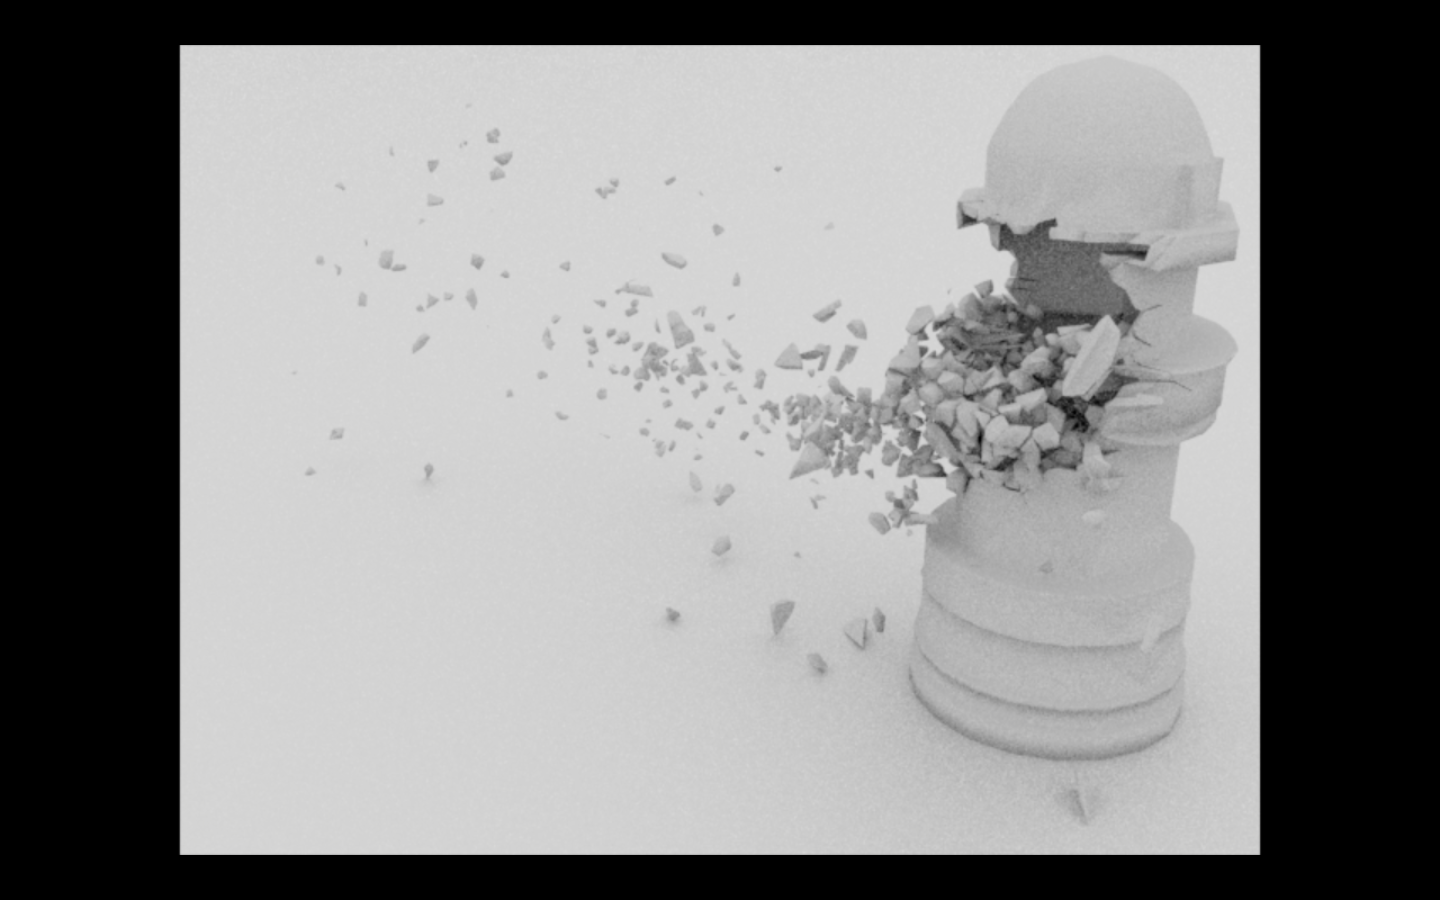
Destruction and Debris: Rough test 

The process for this was the same as in the earlier blogposts.

Step 1: Preparing the geometry for destruction. Adding surface and interior detail, thickness and scaling for the scene.

Step 2: Painting the areas to be effected

Step 3: Scattering points using the voronoifracturepoints node

Adding fracture points and tweaking to get the desired look

 Step 4: Doing the Voronoi pre-fracturing

Voronoi pre-fracturing
The fractured geometry

Step 5: Adding a ground plane and fracturing using a collision object


I am happy with the result for this is the level of detail I am working at. This is basically a rough test for a upcoming rough test, so it is fine. There are still a lot of things to tweak but I would do that on the final dummy geometry with the final collision object.

That's all for now. Here is the link to the video of the simulation on Vimeo: