Pages

Showing posts with label 3D. Show all posts

Wednesday, February 6, 2013

Sony Games Modelling - 5

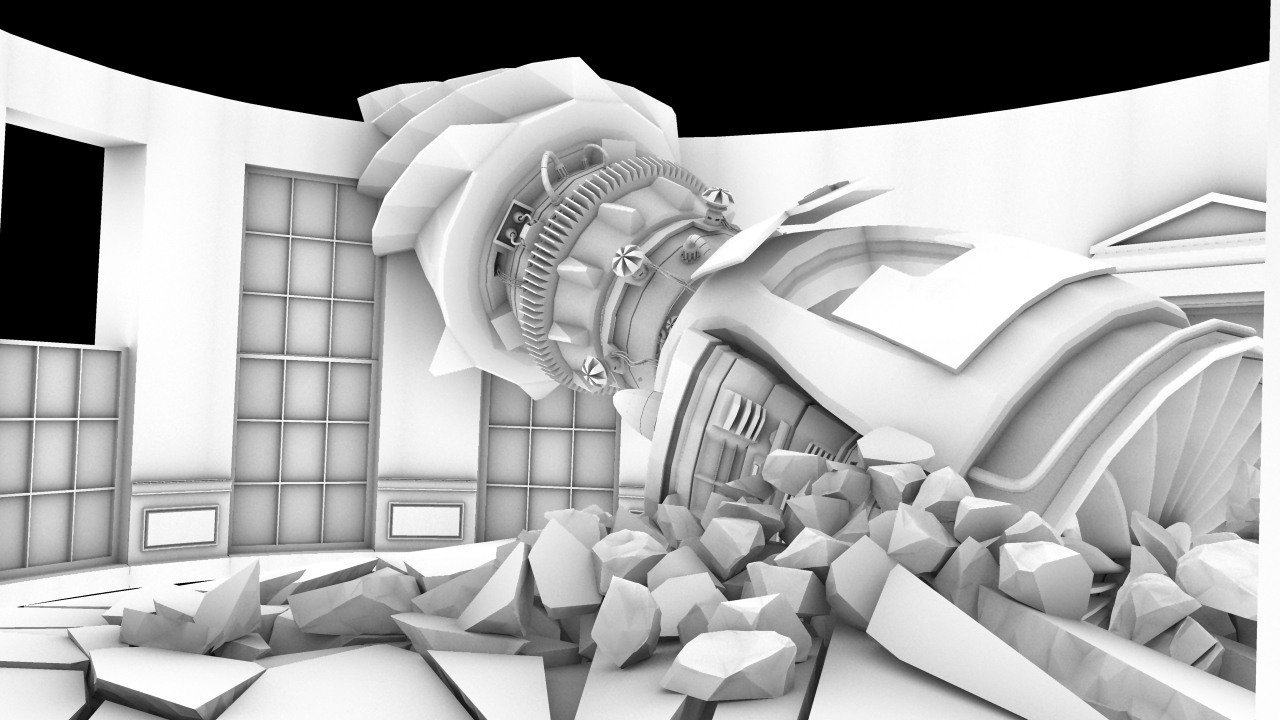
Putting everything together now. One more pass at set dressing and then I get into texturing this. Not really looking forward to it.

Work in progress

Sunday, February 3, 2013

Sony Games Modelling - 4.1

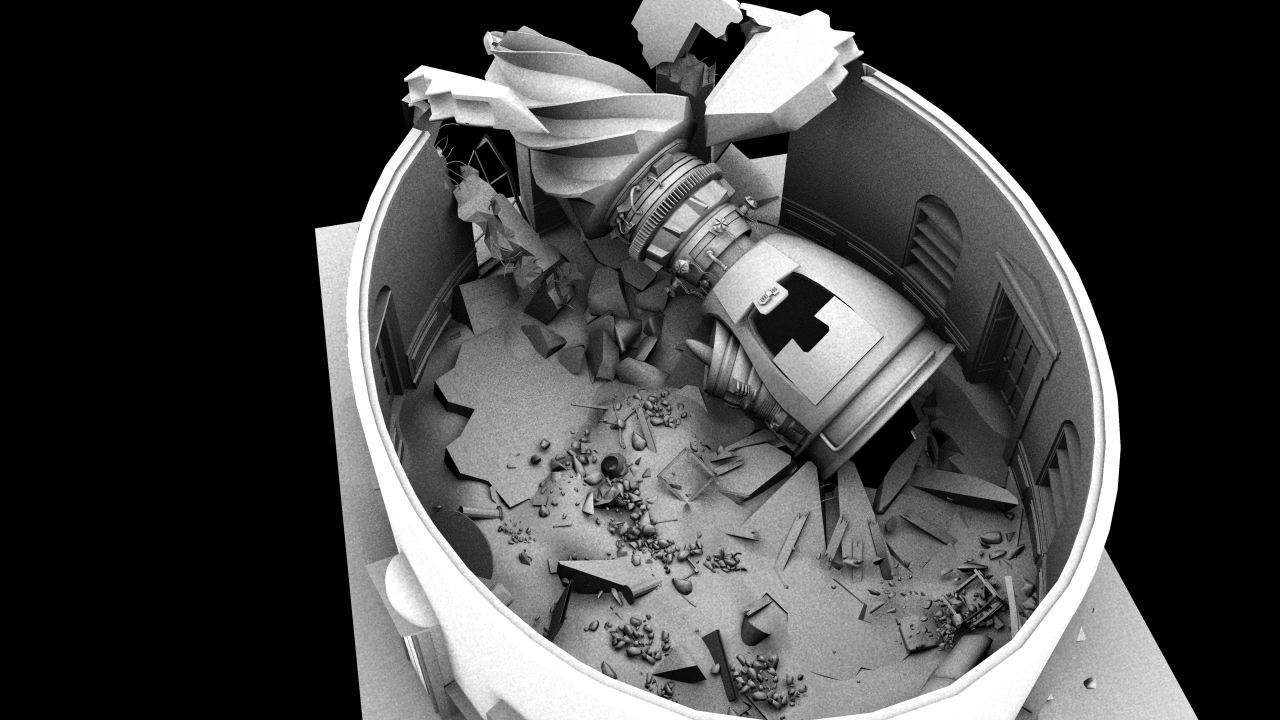
Work in progress update. Added some Houdini rubble to my scene.

WIP with rough rubble


Sony Games Modelling - 4

For the past couple of days, I have been concentrating on the drill design and also have been looking at the composition an bit. I also went in and did some clean-up, deleting unwanted nodes and naming everything.

Here is a work in progress image:

WIP - Drill Detail

Thursday, January 31, 2013

Sony Games Modelling - 3

Now I have been modelling for about 5-6 days and I have the basic geometry ready. This it the blocking I have with the rough geometry.

Work in progress:

Work in progress: Clean geometry
Now I am going in and cleaning up the geometry, organising my assets a bit and then I get on with destruction and texturing.

Monday, January 28, 2013

Sony Games Modelling - 2

It's day 2 working on the project. Have just slept for 4 hours in the last 40 hours, so was a slow night. This is where I got to till now. I have nearly 6000 polygons on it and this is rendered using renderMan in 32 seconds for the frame. The geometry hasn't really been optimised yet, so hopefully it will be much more economical when finished.

Day 2 progress
I am beginning to get a bit worried now as I just have 10 days left to finish this off. Will need to increase my speed.

Sunday, January 27, 2013

Sony Games Modelling - 1

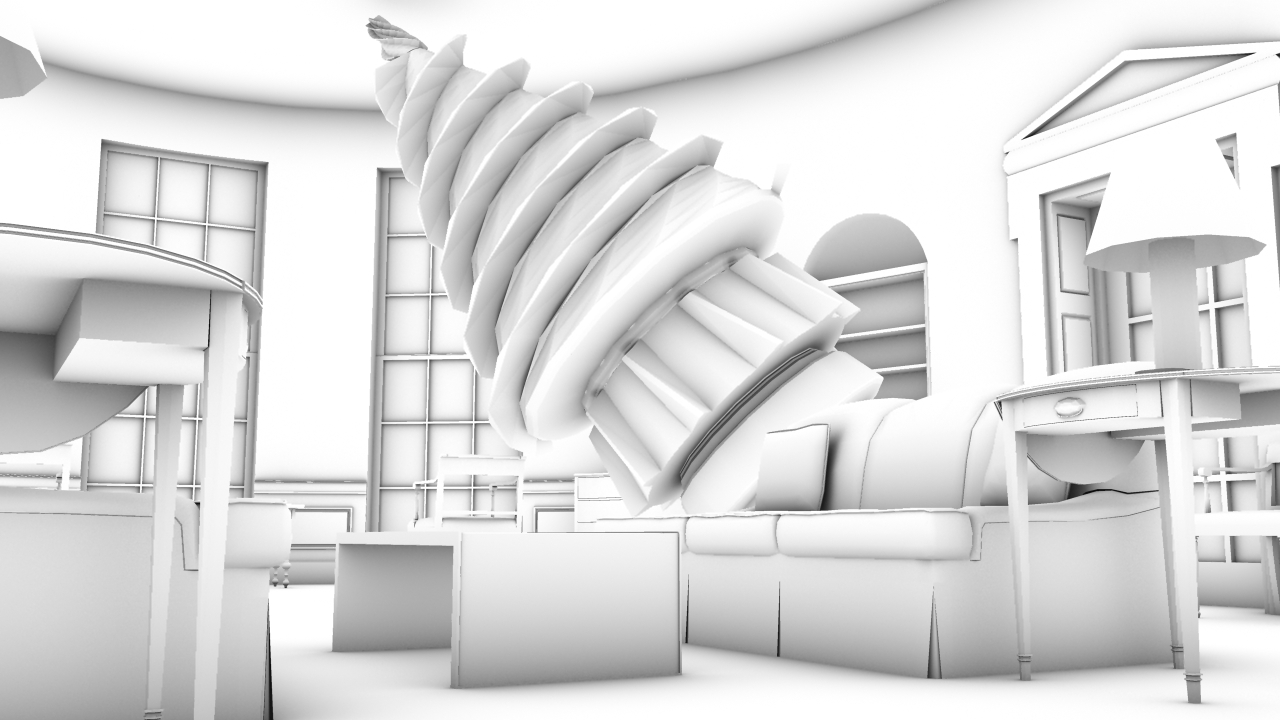
After weeks of delays I have actually got on to modelling for the Sony games project. I am starting with modelling props and I have done the couch and the centre table. I am very slow with the process but hopefully I will pick up some speed as I go along. I am really enjoying the modelling and I am surprised as I always found modelling a tedious process. Will post the couch images with more detail of the mesh later. Been working for 18 hours straight and can't be bothered to take screen-shots and crop them on gimp.

This is the render of the basic cleaned up geometry of the props. I still have to texture it and add wear and tear and character to it. This scene has some 3500 polys. This is a rough renderMan render with render time of 19 seconds.

A rough render of the couch and the table. Rendered with renderMan,

Wire-frame for the scene


Saturday, December 8, 2012

The door to the Oval office - Update

So, after Ross's Nitpicking, I was able to get rid of a few more faces. I am down to 193 now. Let's see how it looks after texturing now.

Down to 193 faces
Ross you are such a stingy ass!

The door to the Oval office

Okay I realised that the last post was pretty useless for the purpose of getting critique, as I didn't really post any wire-frame. Also, after getting a couple of suggestions from the pros I worked a bit on it and was able to take the poly count to 206 (yeah, that's 200 polys less O_o). The visual result doesn't really look any different. I do have some doubts still though. I am not really sure about a couple of decisions I have made. I will need to consult with my resident modelling teacher Ross Hildick. You can check out his work here: Ross's Blog

So here are the wireframe images of the door.

This is the overall structure. This has 3 main parts, the outer frame, the inner frame and the door. This component has a total of 206 faces.

The doorway: 206 faces

This is how it looks from the back. I have deleted all the back-faces to keep the poly count down.

The back-side of the doorway

This is the outer frame, isolated. This piece has a total of 28 faces.

Outer frame, 28 faces

This is how it looks from the back.

Outer frame, back view

The inner door frame. I don't know if it can be further optimised as it has only 6 faces.

The inner frame

The door. This piece has a total of 112 faces. As you can see, it doesn't really have any depth to it. I am not sure if that is a good idea. I know that it exactly fits into the inner-frame and the player won't be opening it, but will it catch lighting properly, if it doesn't have any depth on the edges.

The door, 112 faces

The door-knob is another poly heavy piece. It has 60 polygons, but I can't really think of any way to make it lower than this and still retaining the shape.

Door-knob: Front view

Door-knob: Back view
That was a long post :p
Thanks in advance for any critique. Cheers!

Friday, December 7, 2012

Sony games Low-poly Modelling Testing

I have started with modelling for the Sony games project. I am just testing out a couple of things right now. Tonight I modelled a door to the room. This will, definitely, not be a part of my final submission, but I am just testing out low poly modelling. This door here has a total of 393 faces, including the knob, which I feel is a pretty decent number. Any more details on it will need to be put into the texturing stage. This was rendered using a quick renderMan setup. This is an 11 second render.

Low-poly door: model 393 faces, rendered with renderMan (11seconds)

Tuesday, December 4, 2012

Suddenly Debris!

To bring this night to an end I just created a little debris system in Houdini. this is for my project with Sony Games. This is a test debris system which I then imported into Maya as .fbx. Then I adjusted the geometry a bit, but as you can tell, I didn't spend much time on it (floaty pieces).

This was rendered using renderMan with the IBL. This is a 3 minute render with shading rate and pixel sample turned up way high.

Rendered using renderMan IBL
Next step would be to add more size variation to this and add other elements such as wood and metal pieces.

Off to bed now!

Tuesday, November 27, 2012

Games Style Modelling - 2

So, moving on from yesterday, I came in tonight and modelled a game level. I mainly concentrated on keeping the model low-poly while still adding some interesting detail into the level. I did a rough render of the level adding some basic moody lighting. This is the result:

Game level with a rough lighting pass


Of course I haven't added any textures to it, so it doesn't look like much at the moment.

The layout of the level is shown here. It has around 69000 polys. which, I think, can be handled by a game engine reasonably well.

The level - bird's eye view

The majority of the level was built by reusing a section. However, the crossing gave me a good chance to break the symmetry and push the design.

Some unique detail added to the crossing

The level is based on a lot of tiling. This is the basic geometry I built for the system and then just adjusted it to various situations.

The basic section

This shows how the basic section was used repeatedly to create the whole level.

The straight sections

The curved sections at the extremes also helped at some interest to the level. More variation can be added by using textures and various other maps.

The curved section

Pipes passing over the crossing gave me some opportunities to add interest.

Some detail on the roof
So that was about it. I might take this on and texture it, but honestly I don't see myself making that effort, especially because this is done using a tutorial and is not my design. I guess I learned as much  wanted form it and I would leave it here now. Tomorrow I go on to model some destruction.

Monday, November 26, 2012

Games Style Modelling - 1

So, I am now researching for this Sony Games project that I have. I started off my going through a few forums and a few tutorials to get a basic understanding of the general conventions of modelling for the games industry. I would also be looking into environment design literature. However, there is not much available directly for games, but I guess stuff from film is equally relevant.

I have started doing a basic tutorial from Digital Tutors where they are talking about games modelling and texturing. This is work from the first day on it. The model here is around 20000 polygons and I still need to add a few things like props, wires, bevels and some other bits and bobs.

Here are some snapshots:

The Cryo-chambers

Detail on the lab-door and the recovery room in the background

The intake wires and the ceiling

Interior of the capsule